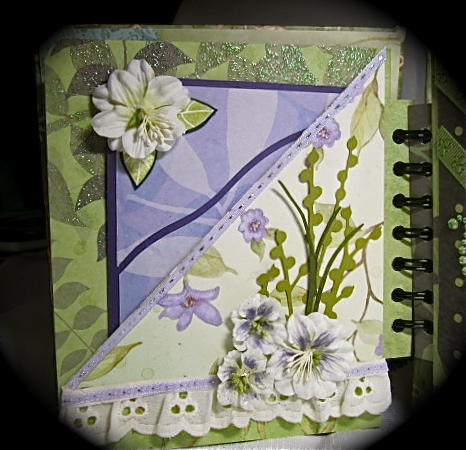
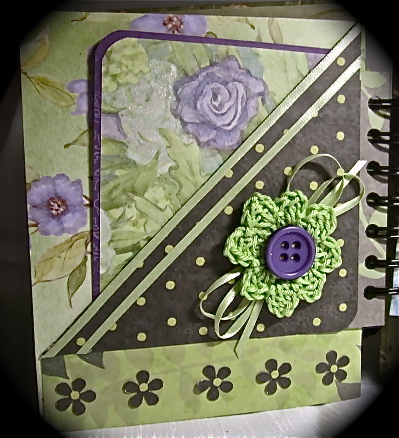
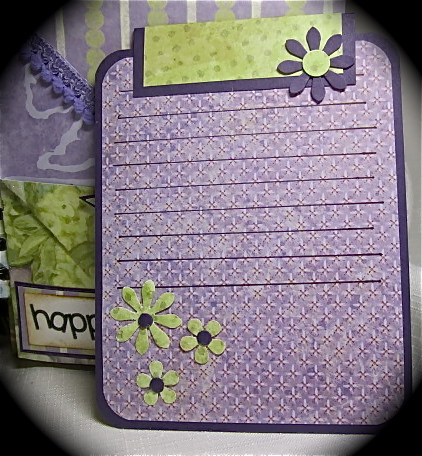
You can't tell here but this album is just loaded with *stuff*. It has only 5 pages, but they sure hold a lot.
Here's the view from the top.....
.....it won't close up any more than this.
I bound it with my Cinch and I really need to use a bigger binding wire. I'll have to look for one next time I go shopping.
It is a *Side Pocket* mini album. Each page, which has a front back and centre, is made from one sheet of 12 x 12 double sided paper. I used K & Company - Susan Wingett Botanicals.
Elsa at *Just a few Designs* is the creator of this technique.
Here is her video tutorial.
Okay, now for more pictures......there's lots of them to see!
Page 1 - front
Each of the pages has an insert which can be used as a photo mat.

Page 1 - centre
Page 1 - back
For this tag I used my craft knife to slice the paper into 3 and then glued onto backing leaving a space between each piece.
Page 2 - front
Tag from page 2 front
Page 2 - centre
Pictures can be slipped in behind the punched lace
Tag - page 2 centre
Back of tag which has a pocket and another tag inside.
Page 2 - back
I used one of my crocheted flowers here.

Page 3 - front
Tag from page 3 front
Other side of tag with journalling area.
Page 3 - centre
Page 3 - back
Tag - page 3 back
Other side of tag with pocket and journalling card.
Page 4 - front
Page 4 - centre
Page 4 - back
The butterfly, which I cut out from one of the papers is quite sparkly, but doesn't show up here.
Page 5 - front

Page 5 - centre
One of the tags from page 5 centre
Page 5 - back
Tag from page 5 back,
Again I sliced the paper with my craft knife and glued the pieces onto card stock, leaving gaps in between each piece.
Hope I didn't bore you all with this picture intense post.
Thanks for stopping by for a visit.
Bye for now,